 https://auction.ridesafely.com/images/2021/08/top-5-import-cars-to-modify-banner.jpg
865
1440
RideSafely
/images/2025/01/ridesafely-logo.svg
RideSafely2025-10-31 09:00:412025-10-31 12:51:01Top 5 Import Cars To Modify for Street, Track, or Rally
https://auction.ridesafely.com/images/2021/08/top-5-import-cars-to-modify-banner.jpg
865
1440
RideSafely
/images/2025/01/ridesafely-logo.svg
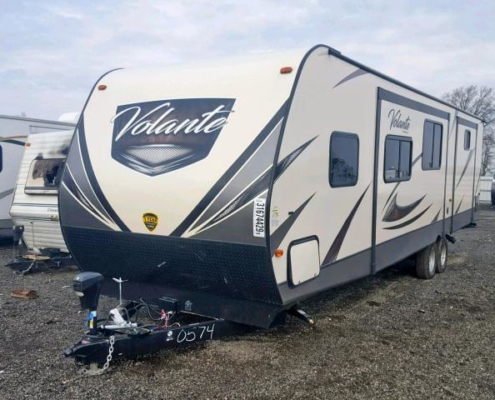
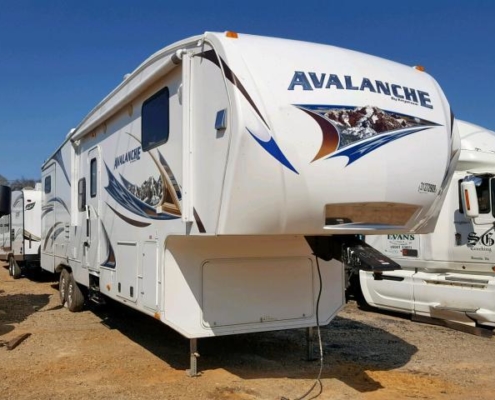
RideSafely2025-10-31 09:00:412025-10-31 12:51:01Top 5 Import Cars To Modify for Street, Track, or RallyFinding a salvage RV can be a great deal. With repairs, the vehicle can be made recreation ready again after a little bit of work. Some salvage RVs can end up being more trouble than they are worth. Recognizing how extensive and expensive it will be to get an salvage RV back into shape will determine whether or not the salvage RV project is worth taking on.
One of the most absolute devastating types of damage an Salvage RV can incur is water damage. Water tends to infiltrate once it finds an opening and it will spread throughout the camper, inviting the growth of toxic black mold.
To determine whether or not a water-damaged salvage RV deserves your time and money to restore, it helps to know a bit about how to identify it and locate its source.
Recognizing Salvage RV With Water Damage
- The first step is to prove beyond a shadow of a doubt that the vehicle is water damaged.
- The most obvious sign of water damage is staining.
- Wood, paper and cloth materials will all become discolored after prolonged water exposure.
- The discoloration will start off brown and then slowly change to black as mold sets in.
- Finding signs of black mold either in corners or in spots is a sure sign of long-term water damage.
- Once you get a hint of this discoloration, probe around to see how far it goes.
Water damage tends to spread outward from the source of a leak, and it can also find a fast track to spread when a leak reaches your ceiling, floors or a corner. If you notice that the roof is sagging or that the floor or walls feel spongy, this means that the water damage has persisted for a long time.
Other Signs of Water Damage
Water damage can also take on a more sneaky approach rather than splotches, soft spots or discoloration. An easy way to spot water damage is to examine the outer screws of the salvage RV. Peel off the covering for the corner screws and also look towards the bottom of the salvage RV. These screws should be the same color as the body of the camper. If they are a rusty brown color, this means that interior water has built up along the head of the screw and caused it to oxidize, or rust.
You can also inspect any areas that should be sealed off with caulk. If you notice that the caulk is severely cracked or is peeling, then the seal on that area has failed and water may have already found its way in.
Bottom compartments are a particularly great place to look, as they tend to collect the water that has poured in through the floors or sides.
How Much Damage is Too Much?
Answering this question depends on the amount of time and money you are willing to spend on a repair project. As a general rule, replacing entire floors or walls is undesirable compared to fixing isolated areas. The best way to determine whether or not a water damage repair is worth it is to try and determine the source of damage. If the water came from an easily-identifiable source, there are going to be less surprises as you go about repairs.
For instance, a faulty drain line can cause a lot of damage to floors and behind-appliance compartments. However, if you are able to repair the source and the water has not spread too far, then that is a relatively easy project. The same applies if you find that only one component was leaking, such as the seal around a particular window. As long as an entire roof or wall has not gone soft and rotted out, then the project can be more manageable. If you discover that support beams have become rotten and moldy and it has affected non-organic components like the Styrofoam under the floors, then you can anticipate a much more labor-intensive repair process.
Remember that before the salvage RV project is done, every single mold-infested component must be cleaned or removed, and all seals have to be replaced for waterproofing. This process will be covered more in-depth in part two of this post.
Find your RV deal on RideSafely and begin your new adventure.


